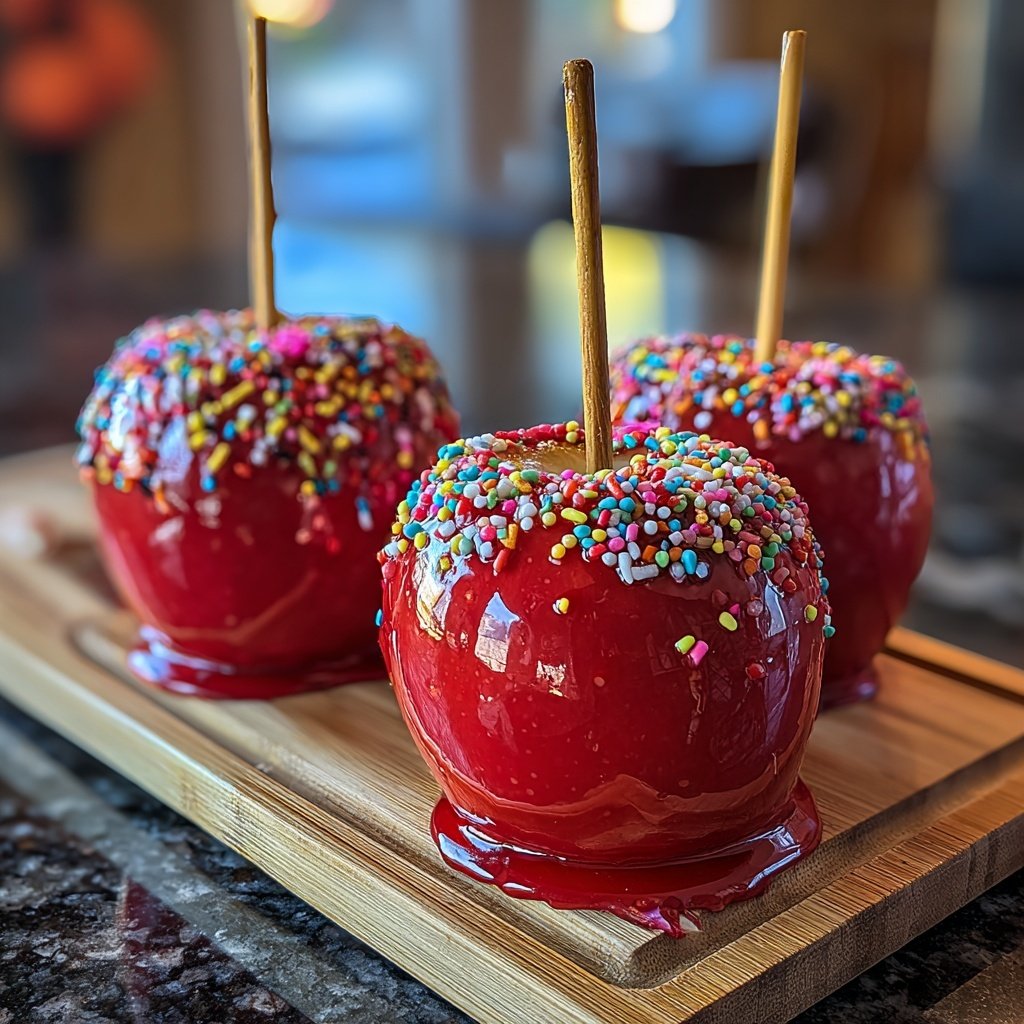
Red Glossy Candy Apples
Highlighted under: Soft Favorites
I absolutely love making Red Glossy Candy Apples, especially during the fall season. The vibrant red exterior and shiny finish always make them irresistible. It’s a simple yet satisfying treat that brings back childhood memories of fairs and carnivals. The combination of sweet candy and crisp apple is irresistible, and they make a fun project whether I’m with friends or family. Plus, you can easily customize them with different toppings if you wish!
When I first attempted making candy apples, I was surprised by how simple the process is. I learned that working with the candy syrup requires attention and a steady hand, but it’s rewarding to see the transformation from individual apples to stunning treats. Heating the sugar to the right temperature is crucial for that perfect glossy finish!
The best tip I discovered while making these is to ensure the apples are dry and room temperature before dipping them in the syrup. This helps the candy adhere better and gives a beautiful shine. Trust me, it makes all the difference for an incredible result!
Why You'll Love These Red Glossy Candy Apples
- Classic carnival treat that's easy to make at home
- The shiny coating is visually stunning and deliciously sweet
- Perfect for both special occasions and everyday indulgence
The Perfect Apple Choice
Selecting the right apple is crucial for achieving the best candy apple experience. Varieties like Granny Smith and Fuji offer a balance of tartness and sweetness, making them ideal. The tartness cuts through the sugary coating, preventing the treat from being overly sweet. Besides the flavor, choose firm apples that have a smooth skin; this will ensure the coating adheres properly. When pressing the wooden sticks in, aim for the center to balance the apple evenly for dipping.
For an added twist, consider experimenting with other apple varieties. Honeycrisp apples can provide a delightful sweetness that pairs nicely with the candy coating. Just keep in mind that softer apples may create a less stable candy apple, so proper handling is key. If you opt for larger apples, ensure to adjust the amount of syrup during the dipping process to ensure an even coating.
Candy Coating Tips
Creating the perfect candy coating is all about temperature. Once your sugar mixture reaches 300°F, you’ll notice it transforming into a beautiful amber color. It’s essential to work quickly after reaching this temperature, as the syrup will cool down and harden fast. Keep a candy thermometer handy for accuracy and to avoid the risk of the syrup burning. If you miss the hard crack stage, reheating the mixture carefully can help rectify the situation, but be cautious not to overdo it.
The addition of red food coloring gives the candy coating its iconic hue, making your apples visually appealing. If you want to add a spicy twist, mixing in cinnamon adds warmth and complexity to the flavor profile. Just ensure you blend it in thoroughly to avoid clumping. For a glossy finish, make sure to dip the apples swiftly and not leave them in the syrup for too long; you want a smooth, shiny surface for added allure.
Serving and Customization Ideas
Once your candy apples have set, they can be served right away or stored for later enjoyment. Ideally, they should be kept at room temperature to maintain their crispiness, but be cautious of humidity, as it can cause the coating to become sticky. To add a fun twist, consider rolling the coated apples in chopped nuts or sprinkles immediately after dipping, before the candy sets. This personalization offers both texture and flavor, making each apple unique.
If you find yourself with leftover candy coating, don’t waste it! You can pour it into molds to create easy homemade candies. Additionally, these candy apples make for an impressive centerpiece at gatherings. Arrange them on a decorative platter, and you have a festive display that will draw everyone’s attention.
Ingredients
For the Candy Coating
- 2 cups granulated sugar
- 1 cup water
- 1/2 cup corn syrup
- 1/2 tsp red food coloring
- 1/2 tsp cinnamon (optional)
For the Candy Apples
- 6 medium-sized apples (like Granny Smith or Fuji)
- 6 wooden sticks
Instructions
Steps
Prepare the Apples
Wash the apples thoroughly to remove any wax. Pat them dry with a towel. Insert a wooden stick into the stem end of each apple until it's secure.
Make the Candy Coating
In a saucepan, combine the sugar, water, and corn syrup. Cook over medium heat, stirring until the sugar dissolves. Continue cooking without stirring until the mixture reaches 300°F (hard crack stage). If desired, add red food coloring and cinnamon once the temperature is reached.
Coat the Apples
Once the syrup is ready, quickly dip each apple into the syrup, ensuring it’s fully covered. Lift the apple and let any excess syrup drip off. Place the coated apples on a greased baking sheet to set.
Enjoy!
Pro Tips
- For an extra touch, consider rolling your candy apples in crushed nuts or sprinkles after coating for added texture and flavor.
Troubleshooting Common Issues
One common issue with candy apples is the candy coating not sticking. This often happens when apples have a waxy surface; ensure they are washed thoroughly and dried before inserting the sticks. If the coating cracks, this may be due to too rapid cooling—try adjusting the cooking time slightly by cooking down the syrup a little longer or ensuring your apples are at room temperature before dipping.
If your syrup has crystallized or become grainy, it may have been disturbed too often while cooking. In the future, keep stirring to a minimum once the sugar has dissolved. If crystallization does occur, you can try adding a tiny bit of white vinegar to break the sugar bonds and smooth out the mixture.
Storage and Shelf Life
Candy apples can typically be stored at room temperature for up to three days. To prolong their shelf life, store them in a cool, dry place—avoid the refrigerator, as moisture can ruin the coating. Covering them loosely with parchment paper can help prevent sticking while allowing airflow to keep them fresh.
If you decide to make these in advance for an event, consider only coating a few apples ahead of time and keeping the rest unwaxed until closer to serving. This way, you'll have perfectly fresh candy apples that retain their delightful crunch and glossy appeal when served.
Questions About Recipes
→ How do I prevent the candy coating from sticking?
Make sure the apples are clean and dry before dipping in the syrup. Using wax paper to set the apples can also help.
→ Can I use other colors for the candy coating?
Absolutely! You can use different food coloring to make various colors for different occasions.
→ How long do candy apples last?
Candy apples are best eaten within 1-2 days, but can be stored in a cool, dry place to keep them fresh for a bit longer.
→ Is it safe to eat candy apples with the stick?
Yes, the stick is safe to eat with the apple, but be cautious to avoid biting down on it.
Red Glossy Candy Apples
Created by: Celia Winterbourne
Recipe Type: Soft Favorites
Skill Level: Intermediate
Final Quantity: 6 servings
What You'll Need
For the Candy Coating
- 2 cups granulated sugar
- 1 cup water
- 1/2 cup corn syrup
- 1/2 tsp red food coloring
- 1/2 tsp cinnamon (optional)
For the Candy Apples
- 6 medium-sized apples (like Granny Smith or Fuji)
- 6 wooden sticks
How-To Steps
Wash the apples thoroughly to remove any wax. Pat them dry with a towel. Insert a wooden stick into the stem end of each apple until it's secure.
In a saucepan, combine the sugar, water, and corn syrup. Cook over medium heat, stirring until the sugar dissolves. Continue cooking without stirring until the mixture reaches 300°F (hard crack stage). If desired, add red food coloring and cinnamon once the temperature is reached.
Once the syrup is ready, quickly dip each apple into the syrup, ensuring it’s fully covered. Lift the apple and let any excess syrup drip off. Place the coated apples on a greased baking sheet to set.
Extra Tips
- For an extra touch, consider rolling your candy apples in crushed nuts or sprinkles after coating for added texture and flavor.
Nutritional Breakdown (Per Serving)
- Calories: 210 kcal
- Total Fat: 0g
- Saturated Fat: 0g
- Cholesterol: 0mg
- Sodium: 0mg
- Total Carbohydrates: 54g
- Dietary Fiber: 3g
- Sugars: 51g
- Protein: 0g